TeleRobot is the project name in which the goal is to control a robot at home via the Internet (not locally).
Although some of these devices can be purchased, they are often closed solutions, i.e. the hardware is difficult to expand and the software is closed. (remark: this was the year 2016…)
Cherokey from DFRobot, I used this kit for a first test, initially as an autonomous 4WD robot platform.
 Although the Cherokey has its own Arduino electronics with motor control, I have installed an extra Arduino board with motor controller, as the engine control on my Cherokey did not work properly.
A horizontally movable distance sensor observes the environment (about 160 degrees) at a distance of up to 80cm and the vehicle autonomously avoids obstacles. It is not remote controlled. I will record obstacle detection later on my remote-controlled TeleRobot to simplify the control.
I think the Cherokey is quite good as a test platform. Overall, of course, it is not powerful enough for my requirements, I need stronger engines and a larger platform for further superstructures.

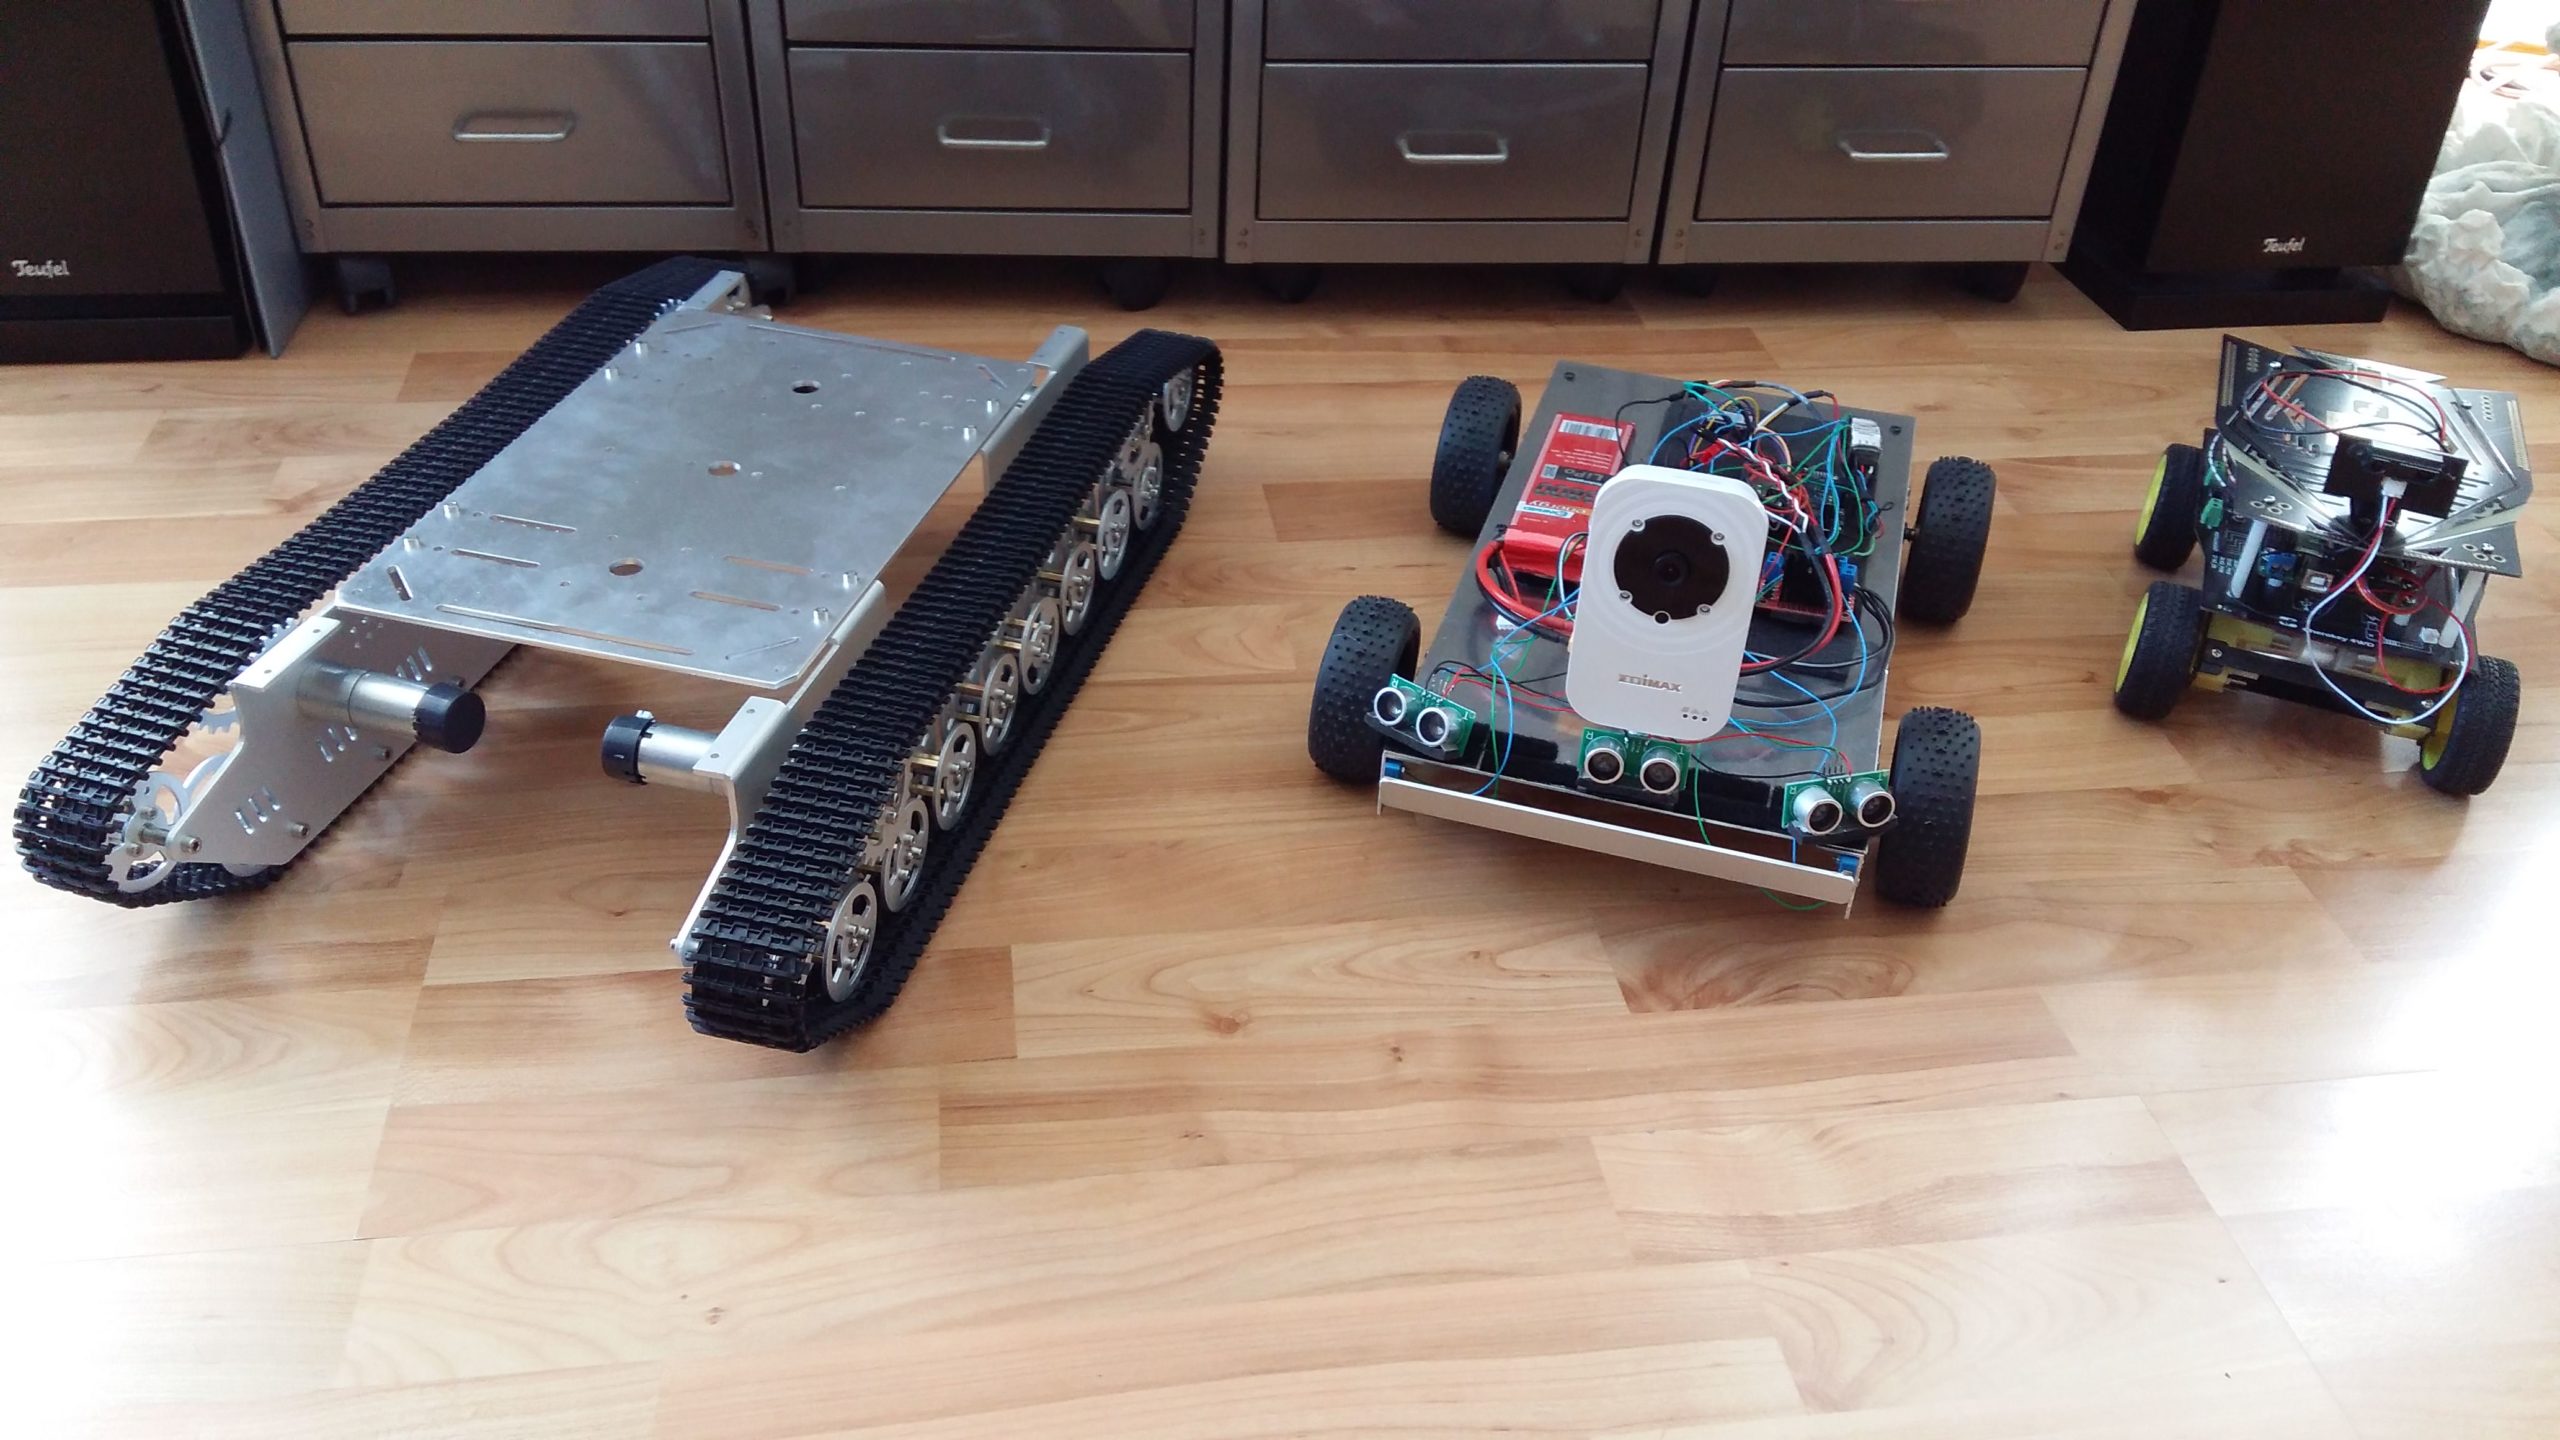
SainSmart 4WD platform (mechanical platform only, approx. 40 EUR)

This platform is in contrast to the above-case Cherokey quite inaccurate and not all four wheels touch the ground, so quite unusable. I later swapped the wheels for those of the Cherokey, which was a little better. The electronics in this photo are quickly protected against short circuit with a napkin and placed in the platform, here with Arduino YUN and IP camera, because I developed the internet software at the same time.

The platform is so bad that I immediately discarded it. The motors are also quite weak. In the future I will only do small vehicle tests with the Cherokey, maybe I will buy one more as a reserve.
The Spykee (came out of Meccano around 2011), I already had several years, two pieces, but most of the time defective. It became the occasion for the TeleRobot project.

The Spykee is no longer manufactured, was considered more of a toy, but was enormously powerful.
The interesting details were:
Controllable over LAN and over the Internet (Windows PC required or paid app), camera, microphone and speakers, lights.
Mobile charging station with automatic docking.
Caterpillar chains drive, very manoeuvrable. Two speeds.
The problem with my Spykees was that the charging electronics did not work properly and despite all the attempts with switch-off sockets and other batteries
destroyed the respective battery after a short time. Reloading a firmware “brickte” a motherboard. I didn’t reactivate it because I lost my desire.
I added a different firmware to the other Spykee, but the loading process didn’t get any better here.
Since 2016, Internet forwarding has not been possible, i.e. the server has been switched off and therefore all Spykees can only be controlled via LAN.
So I completely gutted a Spykee, except for the two motors, closed the case, dismantled the torso and attached my electronics.
Here with Arduino YUN (right) (good Arduino board with WiFi, quite expensive 70 EUR), motor controller from DFRobot (left), two voltage converters (bottom for YUN, top for camera) and an IP camera (WiFi) with night vision (mounted on rod right) The whole thing is operated with a 7.4VDC LiPo Battery.

The experiment was very promising and encouraged me to carry out further tests.
The platform is ultimately too small and the engines are too low-performance. In addition, due to the round shape at the top, an attachment of further mechanics is cumbersome. But somehow he’s cute.

Carrera RC AUTO

I bought an RC car (approx. 70 EUR) and everything dismantled, except for chassis and engines. Unfortunately, no proper power steering, this later became apparent as a problem with the control of the steering.

In addition, the car is quite fast and has a long follow-up when taking the speed away. This is not suitable for indoor applications. So as a result: actually a cheap platform, but then better with power steering and slow, e.g. truck or commercial vehicle. Strong motor would also be useful. For indoor use, however, 4WD or caterpillar chain is always better, as it is more manoeuvrable and easier to control remotely. It is also conceivable to use 4WD or 3WD with omnidirectional Mecanum tires, or theoretically 2WD self balancing, but consumes more energy.
PEARL sells a small telerobot HSR-1 from 7Links, can be controlled via app worldwide, caterpillar chains, tilable camera, lighting, charging station, but it is far overpriced (180 EUR) and too small for my purposes.

Self-made TeleRobot 4WD
From the experience gained, I have built a first small four-wheel-drive platform. The 12VDC engines are strong enough, not too fast (60rpm max), the tires are slightly offset backwards so that they do not roll up at the obstacle in the event of a collision and the platform overturns, the body surface is large for a lot of superstructures and tests.
Two dual motor controllers are installed here, which is not necessary yet, but possibly. brings more power for later. On high carpet he turns slowly, but it goes.


Software: A website is applied to the SD card of the YUN. The YUN has a fixed local IP address and also the IP camera, both of which are connected to the router.
In order to be controllable via the Internet: Both addresses are entered on no-ip.com (free up to 3 redirects), with the camera with port release in the router and port forwarding at no-ip.com. The website integrates the camera image as an iframe.
The 3800 mAH LiPo battery with 11.1VDC probably lasts between 45-60 min, I will test with continuous load. There is no charging option in the vehicle (charging station) yet.
Here is the extended version of the self-built RoboCar:
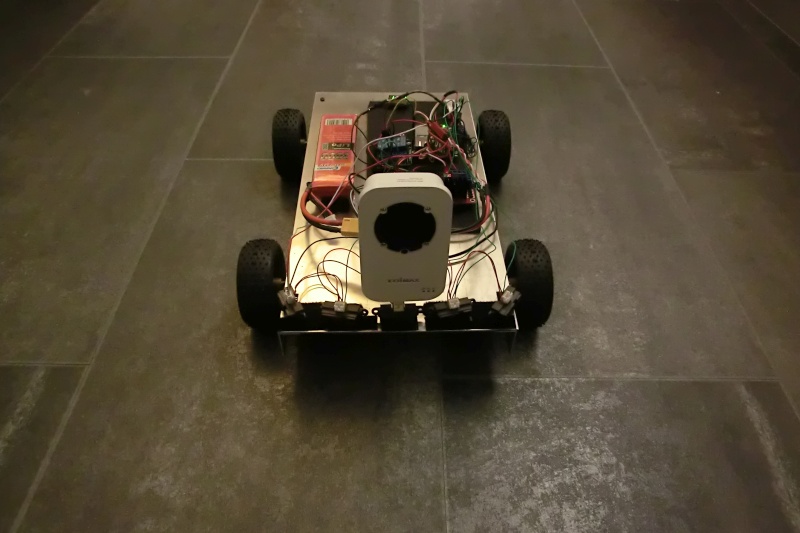


The changes on the hardware side:
a relay board with two relays, one of which is now for remote on/off of the camera by completely capping the power supply
the elimination of the voltage converter 12VDC for the camera, the camera is now operated directly by the battery, tested with voltages between 12.4VDC (fully charged) down to 11.3VDC
an LED display of the current voltage of the battery
5 infrared sensors (approx. 10-80cm range) at the vehicle’s bow for obstacle detection
Camera moved backwards and slightly higher
The changes on the software page:
Camera on/off
Autonomous driving on/off: The five sensors are evaluated and now obstacles are automatically avoided, while the evasive movements are enriched with random values to avoid endless commuting between obstacles. It can now be seamlessly switched from remote control mode to autonomous mode and back, which greatly facilitates remote control activity.

TODO: Automatic charging is still unresolved. And the vehicle needs a bumper sensor, ideally on all sides, in case it gets too close to an object, not detected by the other sensors.